
We may receive a commission when you make a purchase from one of our links for products and services we recommend. As an Amazon Associate we earn from qualifying purchases. Thank you for support!
So you want to write a low content book, but don’t know where to start? In this post I will guide you through every step of the process to write and publish your low content book!
Low content books are a type of book that don’t have a lot of content – they often come in the form of journals, activity books, or even books of quotes and the pages frequently have very few words on them.
In this post today, I’ll guide you through quickly writing, formatting and publishing your book.
Step 1: Choose Your Low Content Book Theme and Title
When it comes to publishing low content books like journals, it’s typically a good idea to choose a theme to start with. This will help you target a more specific audience – but it also helps make your job of writing it a lot easier too!
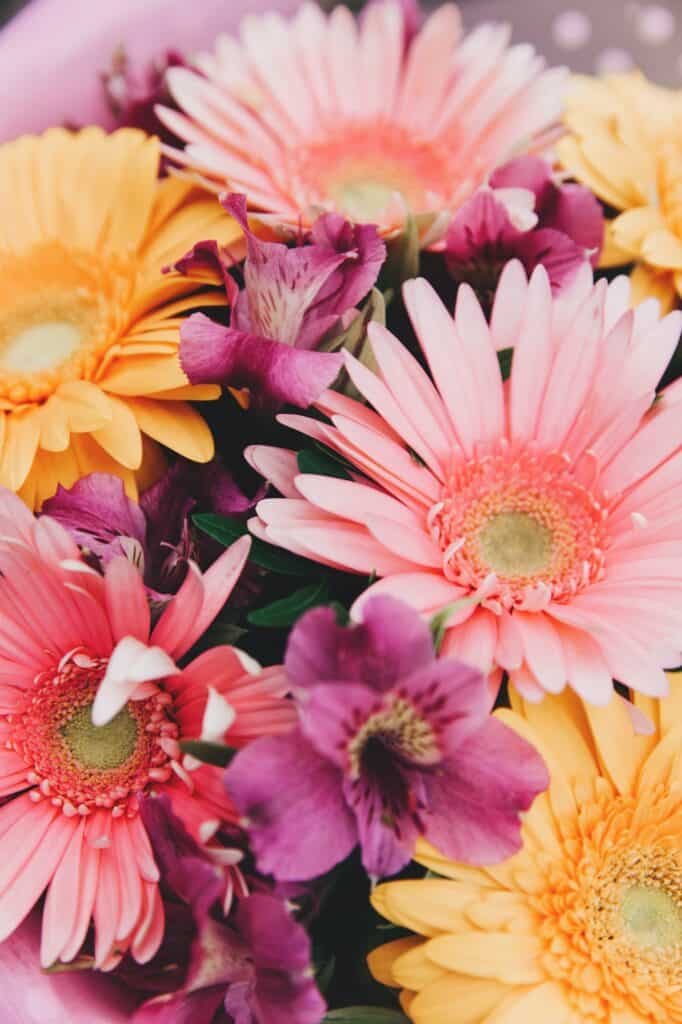
For example, if you choose flowers as a theme – it’s very easy to make decisions for the design and the subject of your book, whether it’s a crossword puzzle book, a book of potpourri recipes or a journal filled with flower and garden quotes.
Let’s say you want to publish a prompted journal. You could do prompts about flowers, self-help journaling prompts, poetry writing prompts, art prompts, prompts for songwriters – the sky is the limit! If you have a theme it is even easier.
There is no set of number of prompts you need – but in general somewhere between 30 prompts (one prompt a day for a month), 52 prompts (one per week) or 365 prompts (one per day) is a good number. 100 seems like a nice number in between.
Another way to choose how many prompts to include in your journal would be to think about how many pages you want. Keep in mind that a book “page” is only one side of the piece of paper, so each sheet of paper will count as two pages if you are doing front and back.
In this example, if you wanted your journal to be 60 sheets of paper, you will need your final book you upload to go to print to be 120 pages. This might mean you want 60 prompts (so a person can leave the backs blank or use two pages to write!)
Step 2: Write Your Content
Now that you have a theme, it’s time to write your content. In a book of prompts or quotes, this is as easy as making a list!
I think its best to make your list in a separate document from your actual manuscript first. This way formatting won’t become too big of an issue when you go to design the book.
I always write my lists in a plain text document just because this gives you the most flexibility and freedom. I never number my lists – so if keeping track of the number of prompts when you make the list is important, you might even want to write them in a spreadsheet, one prompt per row.
After you have your list, you are ready for the next step – formatting your low content book to publish!
Step 3: Format Your Low Content Book
Before you can publish your low content book, you will need to format it.
Amazon Kindle Direct Publishing and other print-on-demand publishers usually want this to be PDF format. Fortunately, nearly every word processing software on the planet will export to PDF so that makes this easy and flexible – you can use any software you like that you are comfortable with using!
The first step in formatting is t choose the size of your journal or book. If you are doing a journal, you will probably want to stick to the standard 6×9″ or A5 Trim Size, but the 7×10″ Trim Size is also a great choice – that’s about the same size as a composition notebook.
For items like coloring books or crossword puzzles, you might want to choose a larger page size, such as 8.5×11″ which would be the standard letter size of paper in the U.S.
If you plan on publishing your book on Amazon Kindle Direct Publishing (KDP for short), you can also choose to download one of their free templates for creating your manuscript.
Their free templates won’t seem like very much when you download and open them – they seem like just a blank page! But they do have the tricky parts of the margin, page size, and bleed details set up for you – and that’s what matters the most!
You can use any document editor or word processing software to make your book. I like to use Apple’s Pages since I’m a Mac user, but you can use Microsoft Word, Libre Office (it’s free!) or even Google Docs or Canva to design your pages.
There are a TON of ways to format and design your book, but in this example we are just going to keep things simple for an unlined journal – we are literally just going to write one word to use as a prompt on the top of each page.
For journals, I think its best to leave the left-hand sided pages blank. This will make it so your readers (writers?) –your audience– can use any kind of pens they like when writing in the journal without worrying too much about the ink soaking through to the other side.
When you are making your book, you’ll want to consider some very important things, such as whether or not you can use the fonts you have on your computer (not all fonts are okay for commercial use!) – you also don’t want to use any images that you don’t have the proper licensing for.
In all cases, it’s best to stick with only photos you own and took yourself and fonts that are open source such as Google’s Fonts that are licensed under the SIL Open Font license.
When your book is finished, save your manuscript and we’ll go to the next step – designing the cover!
Step 5: Design the Cover
Designing your cover is easy enough – you can either just leave the cover blank, make your own art for it or some text. Remember that people sadly do usually judge a book by its cover, so try to make it something eye catching.
You can design book covers in apps like Canva, Photoshop and more. Make sure the cover size meets the requirements and guidelines as outlined by KDP or your other publisher of choice.
Step 6: Publishing Your Book
There’s tons of ways to publish your book – whether you self-publish and hire a printer to make copies, or you can even sell printable versions of your low-content book on sites like Etsy or Gumroad or set up a shop on Shopify.
KDP (Kindle Direct Publishing) is a popular option, so I will share some tips on this. While KDP is very popular, keep in mind for journals people really do care about paper quality – so that may not always be the best choice!
The paper Amazon uses for paper backs is okay – but you might want to explore other options if the quality of paper matters to you. Depends on your target audience really – I know I am a paper snob but that’s not most people!
To publish your book on KDP, you’ll want to create an account if you don’t have one already, and then go to Bookshelf and click on the option to “Create a New Book”.
From there, you’ll be prompted to fill out a form with the details of your book. Make sure you check the option for “This is a Low Content Book”.
Follow the form’s instructions to upload your book and once everything is good – you are ready to hit the publish button!
Step 7: Marketing Your Book
Of course, publishing your book isn’t the same as actually selling your book, and so after the book is officially published, you are going to want to do some marketing to help get it sold.
We have tons of free book marketing ideas for writers, as well as email marketing ideas and tips for how to build your author platform.
—
Writing low content books might seem intimidating at first – especially when you go to publish your first one and you are new at it! The good news is once you publish one, publishing your second and third books will only get easier!
I hope this guide is helpful for you and I will try to get some more resources up soon on ways you can easily format your books + design covers.
And of course, if you have any questions about writing and publishing low content books just let me know in the comments below!


I want to thank you for this useful piece of information.I found it very interesting to.
Thanks for this guidelines.. if there is more question.. I hope you will help me through
Do you have any advice on what pictures work best when using my own?
Hi Jeanette, it really all just depends on your subject. The most important thing is if you are printing low content books you use high-resolution images that are at least 2800 pixels long or wide and 300 PPI.
Helpful & very informative! such a good reads.